How to setup AddressHero
Setup AddressHero with ease
Written By Calvin
Let's configure AddressHero the way you need it.
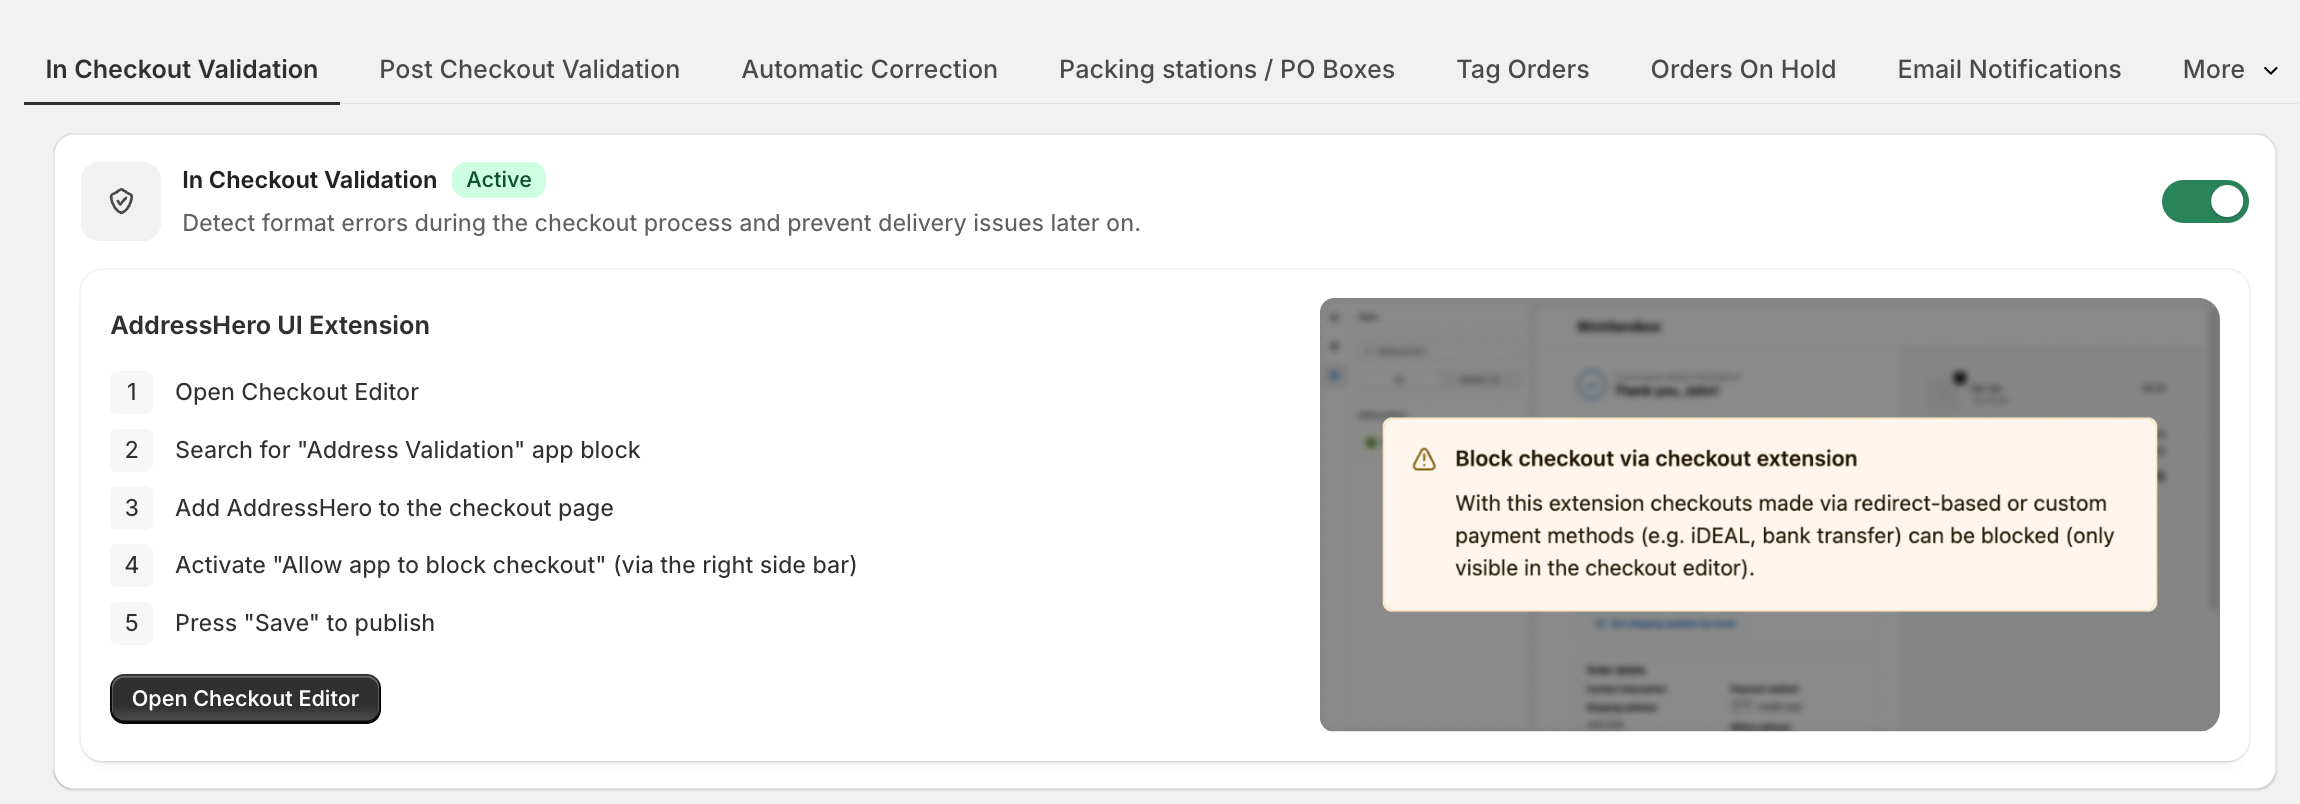
1. Configure In-Checkout Validation
In the first step make sure you activate the In Checkout Validation and configure the settings that should be applied in checkout. If you are a Shopify Plus Merchant, ensure, that you added the AddressHero UI Extension to your checkout page.
For example:
block checkouts without house numbers
block checkout for addresses with special characters
2. Configure Post Checkout Validation Settings
In the second step, make sure you activate the Post Checkout Validation and configure the settings that should be applied after checkout. Ensure, that you added the AddressHero UI Extension to your thank you and order status page.
For example:
Set time limit to edit shipping address
Only validate unfulfilled orders
Hide Extension for Format Errors
In addition you can activate our “Self-service to edit shipping address” Feature and add the designated UI Extension to your thank you and order status page.
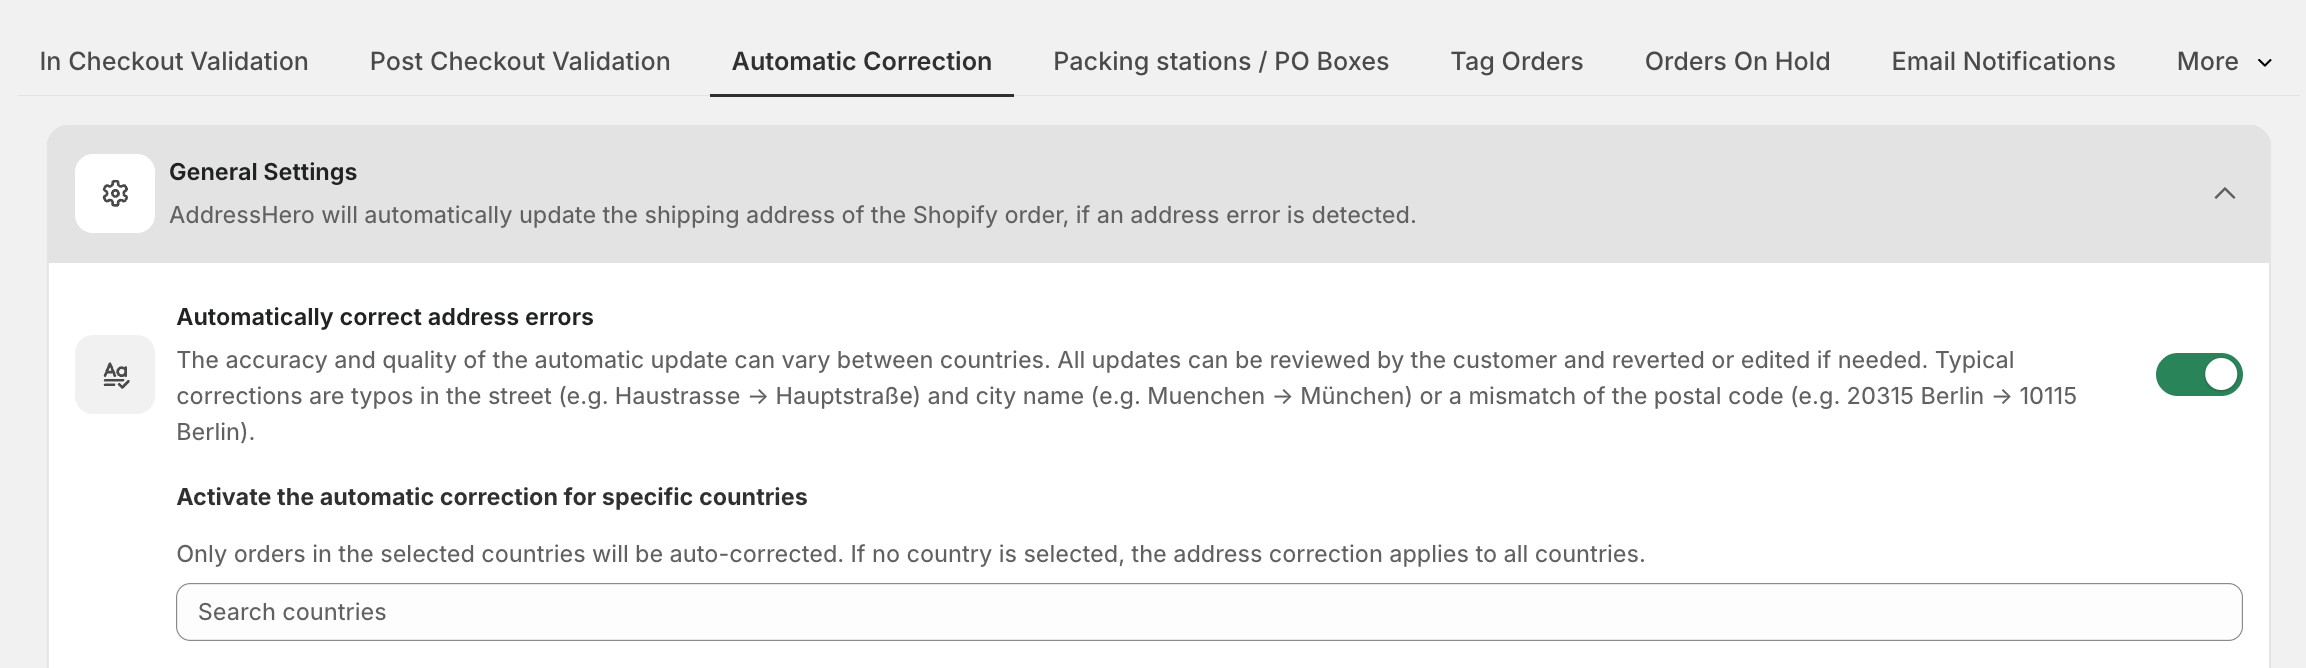
3. Configure Automatic Corrections Settings
Decide if you would like to automatically correct address issue detected by AddressHero. If yes, activate the setting accordingly.
Please note, that the post checkout validation must be active to automatically correct addresses.
4. Further Settings:
Configure the following settings tailored to your stores needs:
Manage your Packing Station Settings
Tag Orders for more transparency
Configure Orders on Hold workflow
Setup your Klavyio workflow